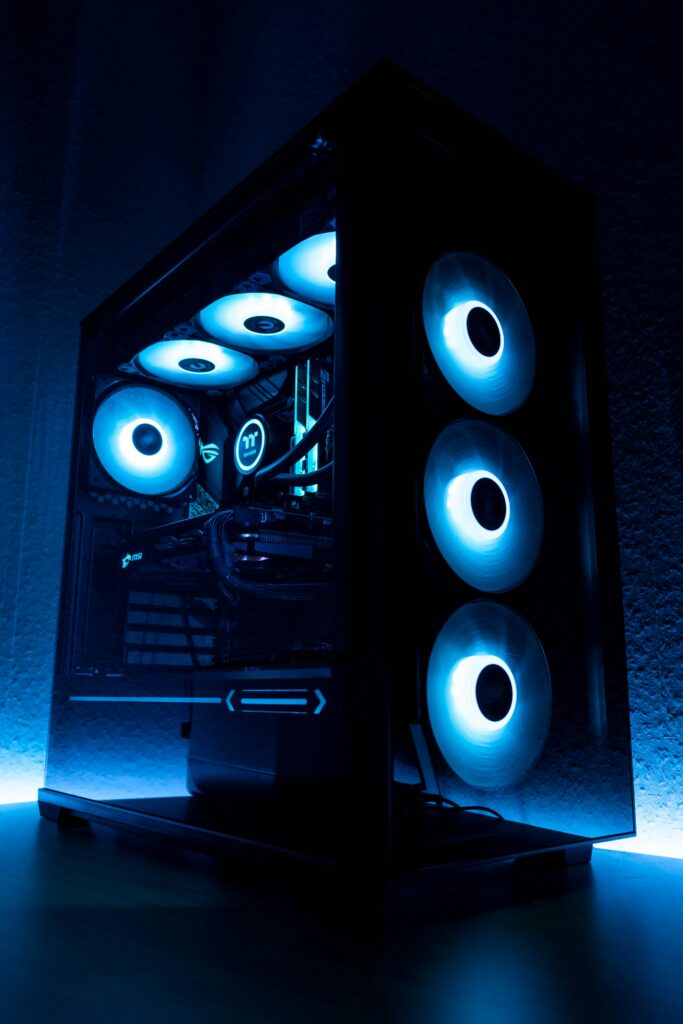
Building your own PC can be a rewarding journey, and it needs some technical skills and a little bit of creativity. When I built my first PC, I was very excited, and the experience was good. Today I will share my experiences with you guys.So here is the detailed guide that will go through your process, and I shared my personal opinion on this post.
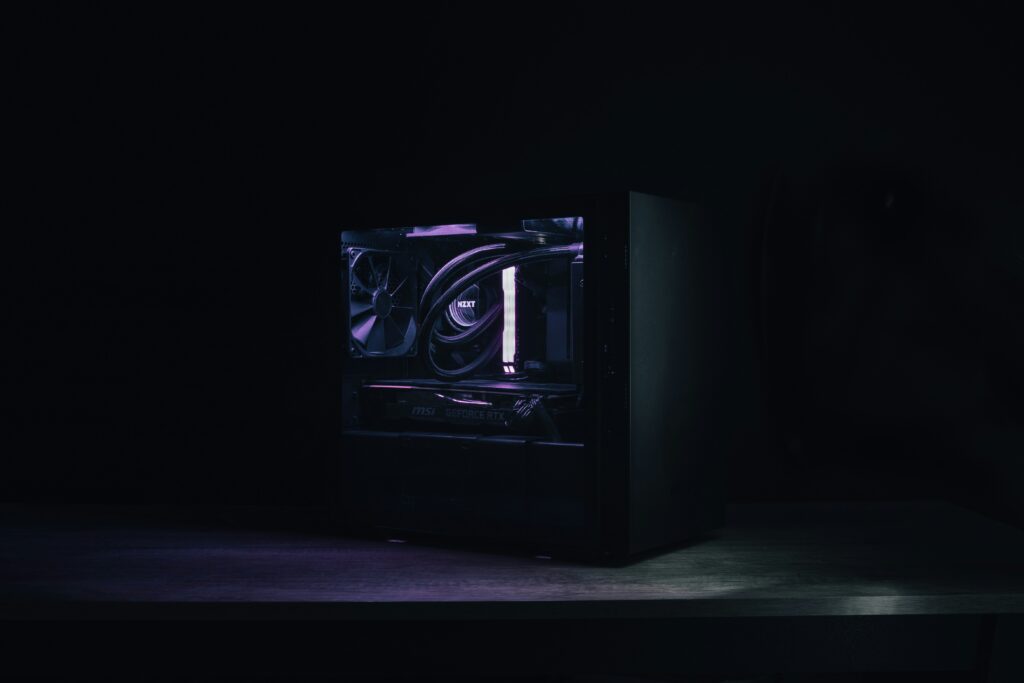
Ok, before buying components, you have to ask yourself for which purpose you are making this PC. It can be a gaming PC or for day-to-day uses. So, let’s decide first.For my case, I made a gaming PC that can also do intensive video editing.
- Selecting Components
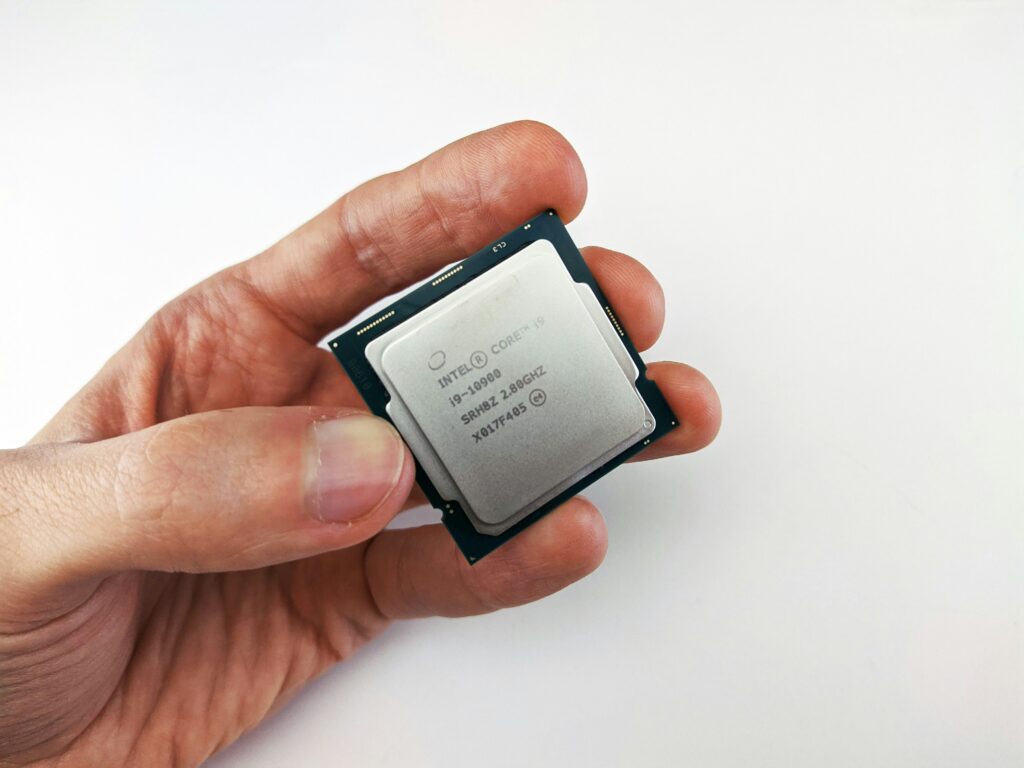
CPU (Central Processing Unit): The CPU is the brain for your PC. There are typically two companies that are making CPUs. One is AMD, and one is Intel. If you want to get multi-core performance, you can go with AMD’s Ryzen series. On the other hand, Intel is known for its single-core performance.
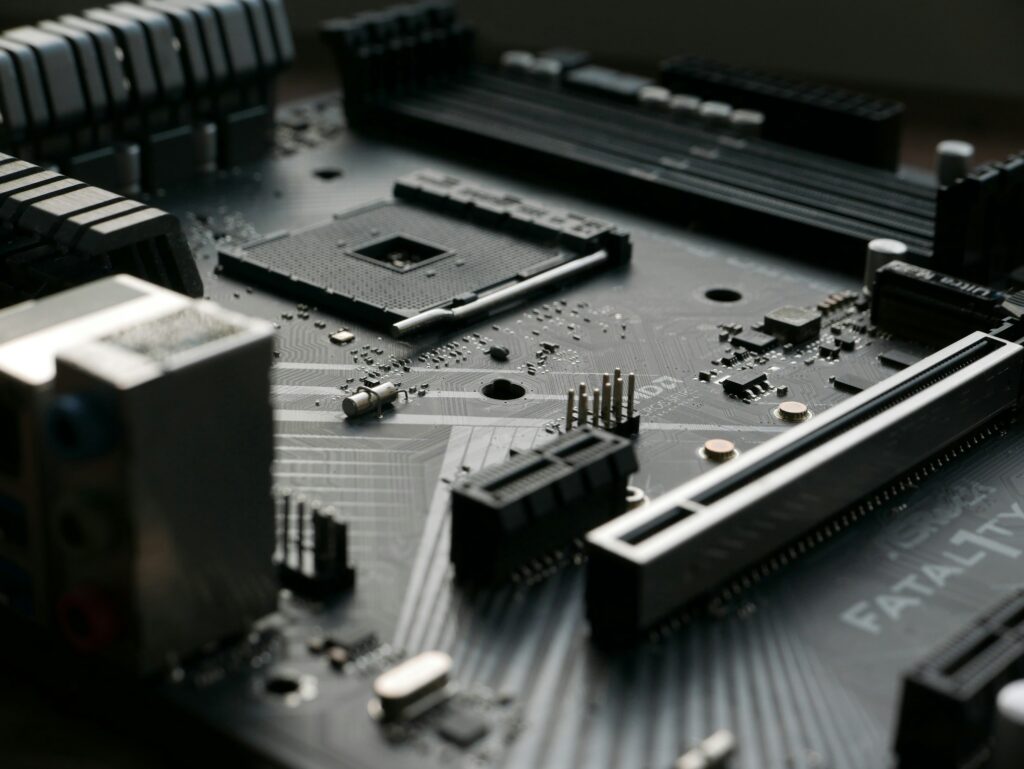
Motherboard: While choosing a motherboard, you have to make sure your CPU is compatible with the motherboard. Just keep in mind some form factors like ATX, Micro ATX, and Mini ITX. You have to check other things also, like RAM slots.
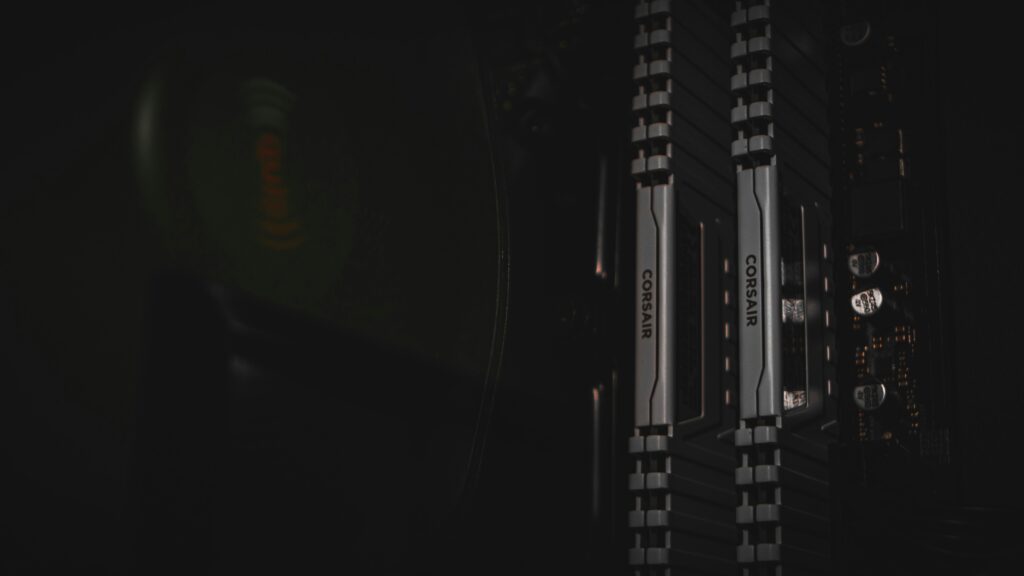
RAM: For everyday users, 16 GB of RAM is enough, but I used 32 GB for heavy sessions of video editing.
Storage: Generally, an SSD gives faster load times, but an HDD offers more storage at a lower cost. So choose an SSD and HDD for external storage.

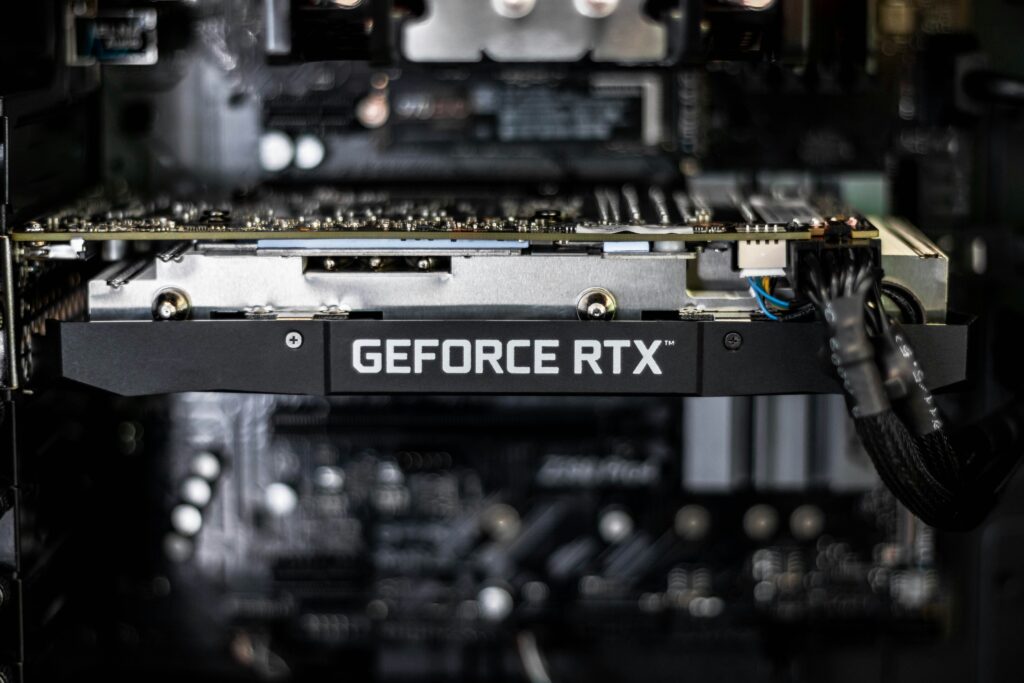
GPU: It is necessary for gaming and other graphics-intensive tasks. Just make sure it suits your demands and is compatible with the power supply.
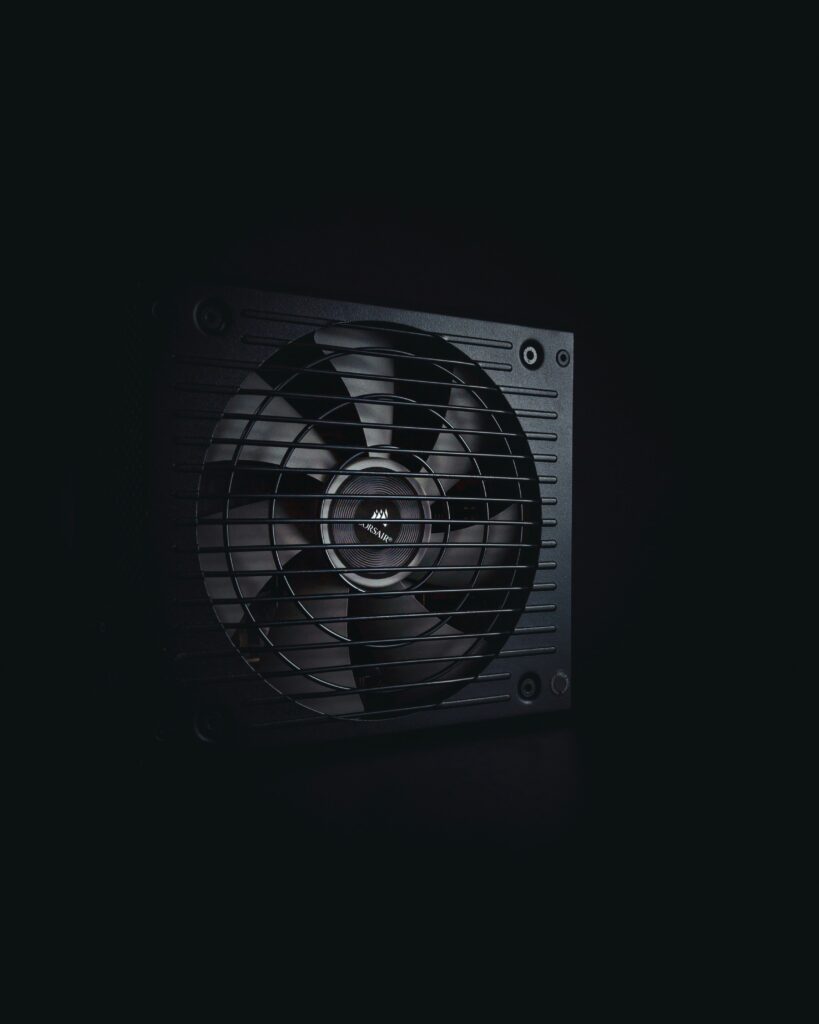
Power Supply: Finding a power supply with sufficient wattage is necessary.There are some online calculators that can help you to find your system’s power needs.
Case: You have to make sure your case has good airflow and adjusts with other components. In my case, I choose the Hyte Y60 PC case; it provides an aesthetic look and good airflow.
So, now the fun part, which is “Assembling all the hardware.”
Workspace: Work on a clean, flat, static-free surface.
Installing the CPU: Gently place the CPU on the motherboard socket. You will see many pins on the back, so be careful while placing the CPU and make sure to align the notches perfectly.
CPU Cooler: Add a little amount of thermal paste if not pre-applied. For better CPU performance, proper thermal guidance is essential.
Install RAM: Put RAM sticks in proper slots in your motherboard and make sure they click into place. You can also see the motherboard manual for recommended slots.
Mount the motherboard: Securely place the motherboard in your case using standoffs just to get rid of direct contact with the case.
Installing storage drives: You can use SSD or HDD, whatever you want. But I would recommend SSD for faster reading and writing speeds. You can connect them using SATA cables or M.2 slots for NVMe SSDs.
GPU: Install the GPU in the appropriate PCIe slot and make sure it attaches perfectly with the case. PSU: Now connect all the components with your power supply. Connect your motherboard with 24-pin and 8-pin connectors, storage, and GPU. For getting enough airflow and looking aesthetically pleasing, cable management is crucial. You can use cable ties to organize cables perfectly.
Ok, after assembling the parts, now we will power on and set our BIOS.
First boot: Click the power button on your systems and watch everything work perfectly or not. If you have any troubleshooting problems, you can see the motherboard’s manual. Press Delete or F2 during startup to enter BIOS.
After booting up your systems, let’s install operating systems.
Operating Systems Installation:For your desired operating system, like Windows 10/11 or Linux, you can use a USB drive. Now boot from the USB drive and follow on-screen guidance. After installing your preferred OS, now download and install the latest drivers for your components.
Final thoughts:While building a PC, it’s not a flawless situation for everyone, but you will learn many things while building by yourself. I have tried to explain it to you guys as easily as possible. After completing all the steps, you have your own desired PC.
