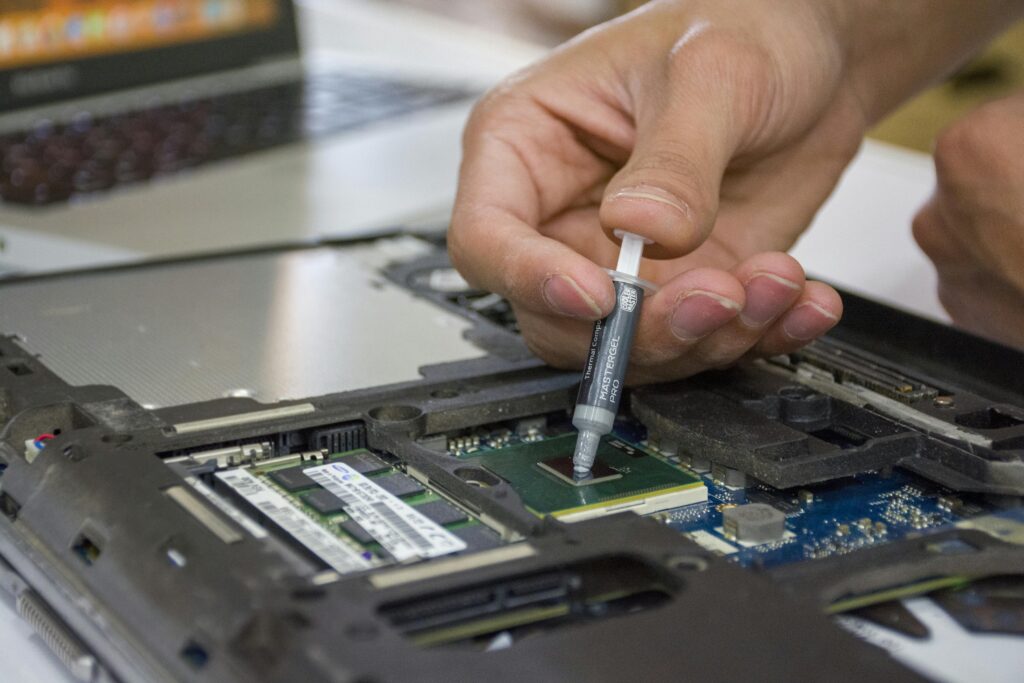
Whoever once in a lifetime built a PC would obviously have heard about thermal paste. It is a silver-gray colored paste that is used on a CPU cooler to maximize your processor performance. It’s an important part of PC building. It may not be as important as your core hardware, but it is responsible for getting the peak performance from your machine.
So, in this article we will know how to apply the thermal paste or thermal grease and the mistakes we should avoid.
What is Thermal Paste and Why is it Important?
Thermal paste plays a great role for CPU cooling and its heatsink. Such as it fills microscopic gaps, increases the CPU efficiency, as well as improves long-time stability.
Let’s say we see CPU and heatsink surfaces are smooth and solid. But there is some microscopic gap, or we can say a little bit of imperfection, that we can’t see. Hence, these gaps contain air, and we all know air is a poor conductor of heat. So these microscopic gaps can hinder cooling efficiency. Thus, thermal paste fills those gaps and enhances CPU performance.
It also enhances heat conductivity through its substances, which are metal oxide or liquid metal. These materials improve heat conductivity by transferring the heat from the CPU to the heatsink.
Moreover, high-quality thermal paste boosts overall long-term stability by preventing drying out.
How to choose the right thermal paste for your CPU?

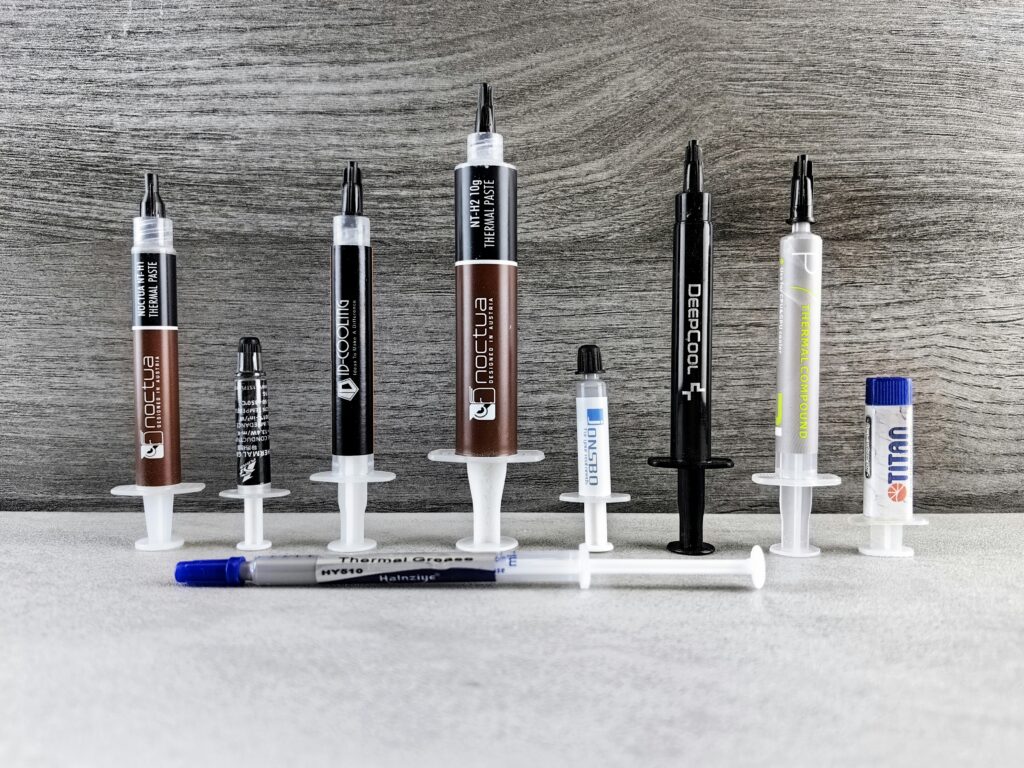
Choosing the right thermal paste depends on every individual’s needs. Someone prefers overclocking, or someone uses it for general use, which is easy to apply. There are multiple options when it comes to the topic; which one suits you best? Some of them are metal-based; some of them are ceramic-based.
Let’s have a look at different types of thermal paste.
Metal-based
Best for: high-performance PC building and overclocking
Pros: Great for high-performance laptops; longer lifespan.
Cons: Electrically conductive and more expensive than others and difficult to apply for newbies.
Popular choices: Thermal Grizzly Conductonaut, Coollaboratory Liquid Ultra
Ceramic-based
Best for: Casual users and gaming
Pros: Easy to apply and a lot more affordable than metal-based and widely popular among users.
Cons: Not ideal for overclocking.
Popular choices: Arctic MX-6, Noctua NT-H2
Carbon-Based
Best for: Professionals and high-performance PC users.
Pros: High thermal conductivity and long-lasting. Easy to use and remove.
Cons: A little bit more expensive than basic ceramic-based thermal paste.
Popular choices: Arctic MX-4, Cooler Master MasterGel Maker.
Tools and preparation for applying thermal paste properly

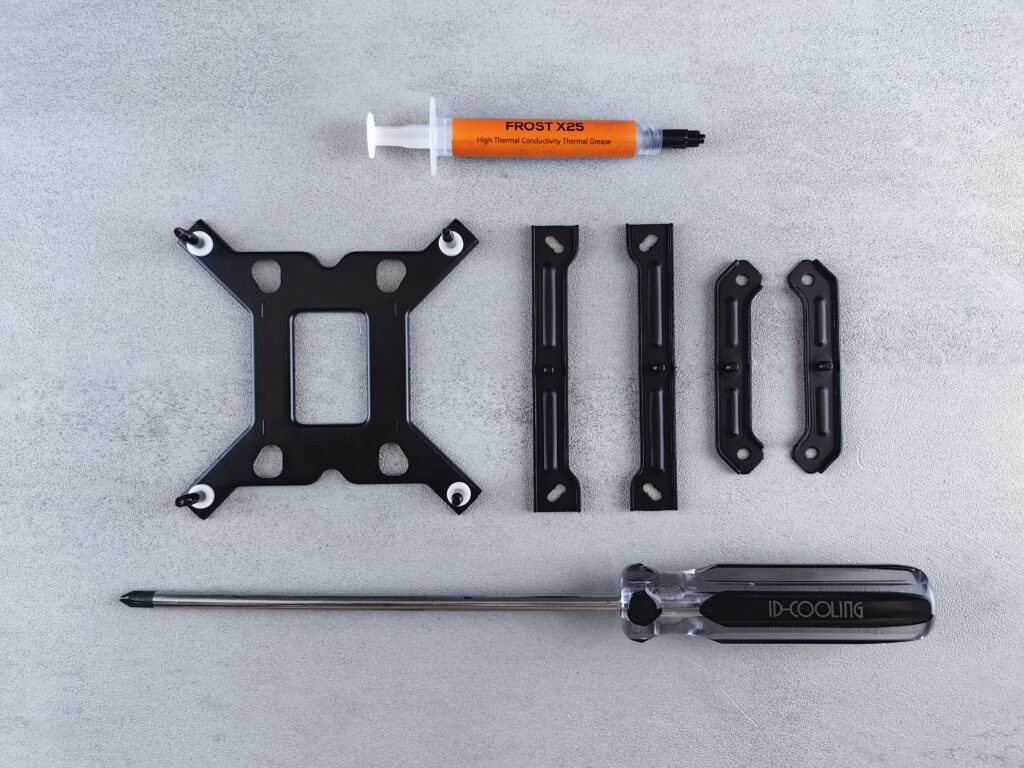
First of all, choose the right thermal paste for your cooling needs. Then you need isopropyl alcohol to remove the old thermal grease. A lint-free microfiber cloth for cleaning the surface. These are the tools we need to apply thermal paste.
A few things to do before applying thermal paste.
1.Firstly, turn off your system. For PC users, unplug and disconnect all the power sources. If you’re a laptop user, remove the battery if possible.
2.Wait for 10-15 minutes to cool down your CPU and heatsink before applying.
3.Detach the CPU cooler gently. Don’t try to pull hard because dry paste might cause a problem for the CPU.
4.For cleaning the old thermal paste, use isopropyl alcohol and a lint-free microfiber cloth on the CPU’s integrated heat spreader (IHS) and heatsink surface.
5.Use compressed air to remove any kind of dust.
6/Assemble the CPU and cooler. Double check the surface of the CPU and heatsink; are there any scratches?
Note: If someone is using liquid-based thermal paste, check if your heatsink is copper or nickel plated.
Different Methods of Applying Thermal Paste (With Pros & Cons)
There are millions of ways to apply thermal paste. I will talk about my personal favorite one and others ways of applying thermal paste. So, let’s move on.
Pea/Dot Method:
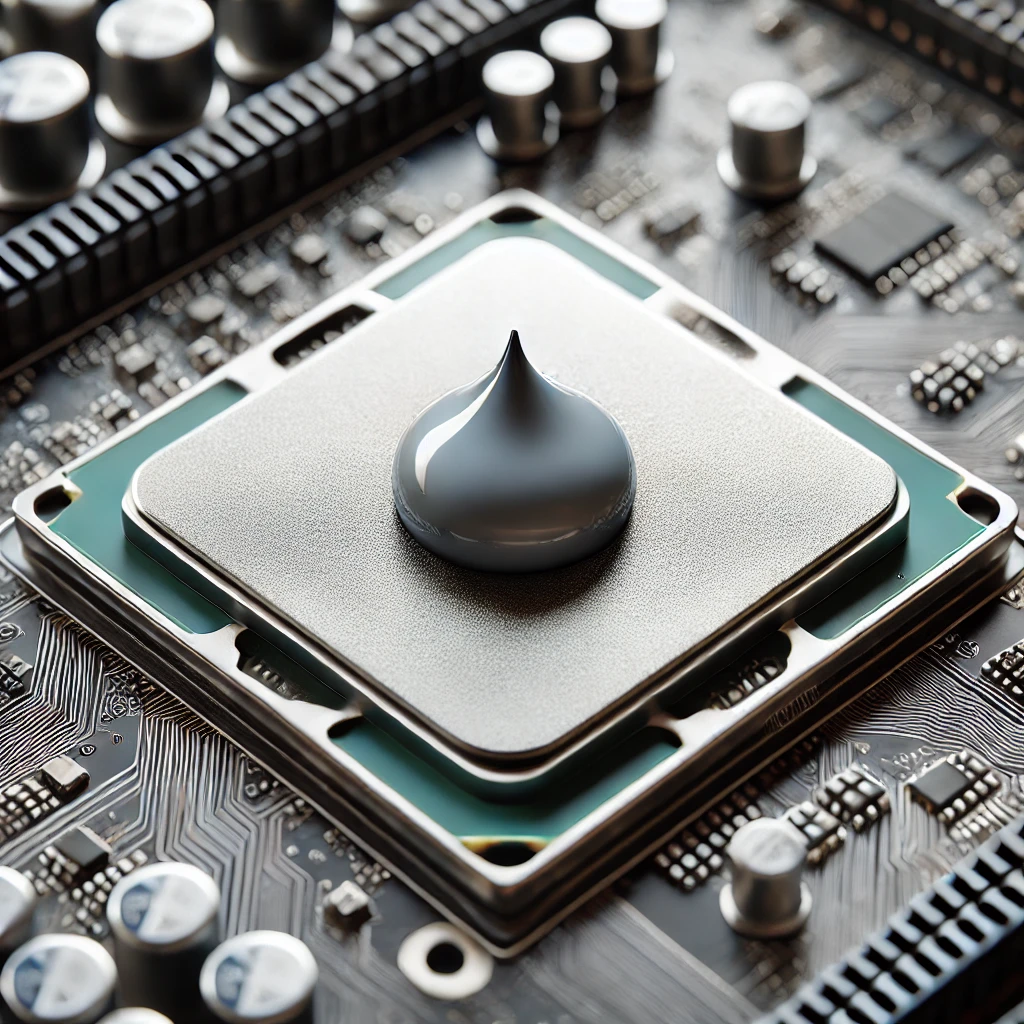
It is the most common and widely usable way to apply thermal paste for its simplicity and beginner-friendly method. Basically, you have to put a green pea/dot-sized thermal paste in the middle of the CPU and then gently attach the CPU cooler to it. Then, all the thermal paste will disperse on its own.
Note: Personally, I use this method almost every time when building a new PC because it is a very simple and effective way. You don’t need any kind of extra tool like a spatula for spreading the thermal paste on the CPU surface.

When I am using a square-sized processor like AM4 or AM5, this method works fine.
Line method:
It is another effective and common way to install thermal paste. You just have to draw a simple line; that’s it!
It works best for rectangular-shaped processors such as Intel Alder Lake CPUs. These processors are designed for the LGA 1700 socket. The line method is effective for modern CPUs, and it is easy to apply. You don’t need to spread thermal paste manually. It also prevents air pockets as well as covers the entire IHS (Integrated Heat Spreader) surface.
Whether you are using the pea method or the line method, make sure your CPU’s surface is cleaned with isopropyl alcohol and a microfiber cloth.

X method:
This method is effective for larger CPUs, and it covers all the surface area. It’s not only great for overclocking but also prevents air pockets.
Spread method:
This method requires a manual technique for installing thermal paste. This method can prevent all the air gaps for its full coverage on the CPU’s surface, but it needs a professional touch to do it properly. Unlike all the other methods I talked about, this is different because the pea method and the line method require the pressure from the heatsink.
In this method you have full control over distribution. After all, you have to be careful while applying this method and make sure you don’t apply too much thermal paste, as the excess might spread and drip onto the motherboard.
If you are a beginner, the Pea or Line method will be perfect for you.
Step-by-Step Guide to Applying Thermal Paste Properly
Installing thermal paste in the right way is necessary for optimal heat transfer between the CPU and heatsink. Improper application of thermal paste can cause several issues, like higher temperature, thermal throttling, and even damage to the processor over time.
Step 1. Unplug your PC.
Shut down your computer and disconnect all the power sources. Set up your PC in an area that is free of static electricity to prevent potential damage to the components.If you’re working on a laptop, try to remove the battery if possible.
Step 2. Clean the old thermal paste.
Uninstall the CPU cooler gently. Don’t need to push hard. You will see four latches around your CPU cooler.
Unscrew these latches, then you can easily remove the CPU cooler.Clean the CPU surface with a lint-free microfiber cloth dampened with isopropyl alcohol. Try to clean the edges also. Then, let the surface dry out for a little bit before applying the new thermal paste.
Step 3. Choose a method.
I have explained the entire method for applying thermal paste. It depends on your CPU’s size and preferences. So, choose a method such as the Pea/Dot method, Line method, X method, or Spread method.
If you’re a beginner, I would recommend using the Pea/Dot method because it is simple and effective. Make sure you don’t put an excess amount of thermal paste because there might be a probability of it leaking onto the motherboard.
Step 4. Reinstall the CPU cooler.
Place the CPU cooler on its spot. Don’t twist or push aggressively. When you place the CPU cooler in its place, you will hear the clicks of these latches. Tighten the cooler slowly.
Step 5. Power On your system and monitor temperature
Boot your system and check if everything works properly. You can use software like HW Monitor, Core Temp, or MSI Afterburner to check out the temperature.
The idle temperature should be 30-50 degrees Celsius. If you notice any abnormal temperature, reapply the thermal paste.
Tips:
Don’t put an excess amount and don’t reuse old thermal paste.
You can reapply the thermal paste after 2-3 years if it has dried out, and don’t forget to choose the right thermal paste for your needs.
Common Mistakes to Avoid
Too little or too much is bad because if you put too little, there might be some air gaps. On the contrary, if you apply too much, it could leak onto the motherboard.
Not cleaning the old thermal paste properly can also be a mistake.
Improperly fastening the CPU cooler.
Conclusion
Applying thermal paste properly is essential for overall CPU performance and heat transfer. So, take time while applying it and try to avoid the mistakes I had talked about. Investing in the right thermal paste can ensure smoother performance for the upcoming 2.3 years.