Building a PC can be a fun as well as a rewarding thing.You have the power to build your own custom machine that is specifically built for your needs.First of all, you need all the hardware for building your PC. One of them is the motherboard, and its work is to connect all the components together. So, your motherboard has to be suitable with the things. Our expert teams spent countless hours working with different builds.So, this is the detailed guide to picking up the right motherboard for your PC.
At first, let’s understand What is a motherboard, and what does it do?
You can compare this component to the backbone of your computer. It ties together all the hardware, like your CPU, RAM, storage drives, and even the peripherals. It has the potential to increase your system’s performance and make sure it is easy to upgrade.
So, if you’re trying to build a high-performing PC, you should choose your motherboard carefully. Indeed, it is the first step to building a system.
Step 1: Compatibility Check of CPU
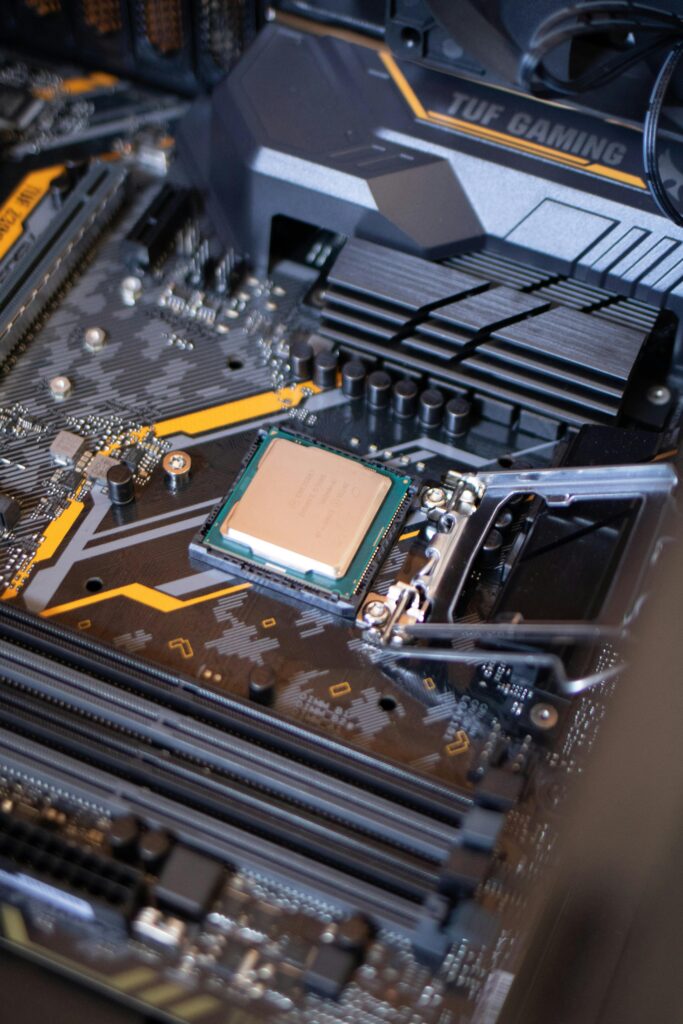
The first thing you have to figure out is your CPU that matches with your motherboard. Because CPUs and motherboards have specific sockets, choosing the wrong CPU won’t be a good thing.
There are various types of sockets that are used in CPUs. For Intel processors, you can find LGA1200, LGA1700, and many more. On the other side, AMD uses the AM4 socket for most of their Ryzen processors, which is widely supported. So, the main thing is the socket must match. However, you can get different features from different chipsets. For overclocking, you should go with the AMD X-series.
Step 2: Choose the Right Form Factor

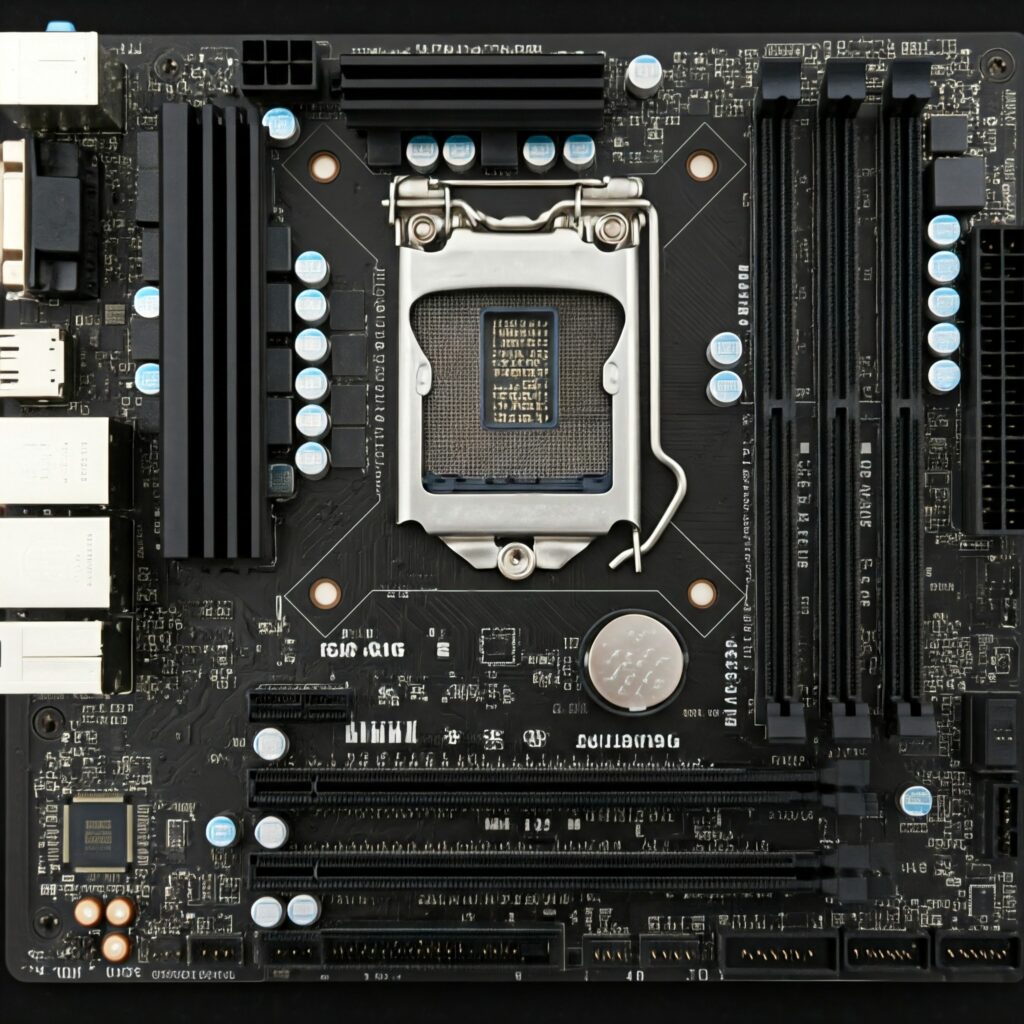
So, there are various types of motherboards we can get in the market, and they are different sizes. The most common of them are ATX, microATX, and mini-ITX. So, these sizes have different space for expansion slots. So, choose the right one for your build. Let’s have a look at these form factors.
ATX: This is the full-size motherboard, and you have enough room for your components. Like RAM, storage, expansion cards, drives, and cooling. This size supports multiple GPUs, so whoever wants to build a perfect gaming beast or workstation, this option is for you.
microATX: This is a little bit smaller than ATX, but performance-wise it is good. You can build a compact machine with this.
mini-ITX: For minimalist builds or short spaces, you can choose these mini-ITX boards. Keep in mind that they are small and have very limited slots for RAM and GPUs. It is more budget-friendly than ATX boards but has very limited space.
Step 3: Prioritize RAM support

The motherboard determines how much RAM we can install and how fast we can run it. Check your motherboard’s maximum RAM capacity and RAM supports.
Capacity: For ideal uses, 16GB to 32GB RAM is enough, but if someone wants to build a monster machine, they can go with 64GB or even 128GB. A lot of boards today support 64GB up to 128GB.
Speed: We have to choose DDR4 or DDR5 RAM. Faster RAM ensures faster performance in some certain tasks. DDR5 generally provides faster speeds and better efficiency. So, check out the motherboards and which types of them support.
Step 4: Expansion Slots and Ports
It’s a very important section because the number of expansion slots is responsible if you add any components later. It really matters because if you want to add a second GPU or an extra storage drive.
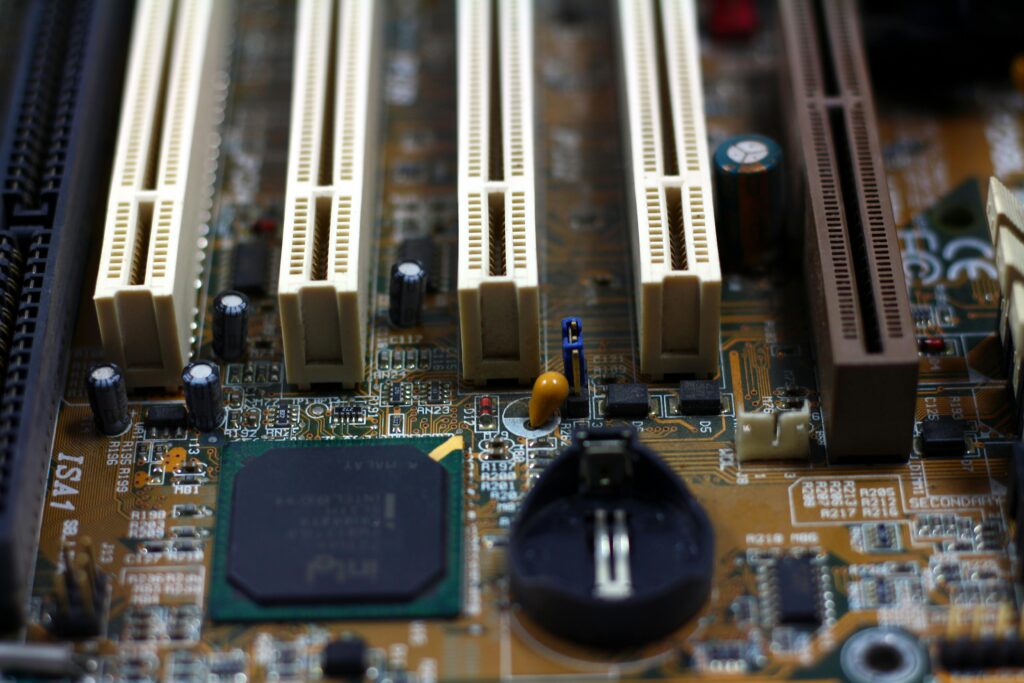
Most of the motherboards have “PCIe slots,” and we have to check the version of PCIe, like PCIe 3.0, PCIe 4.0, or PCIe 5.0. If you want faster data transfers, a higher version of PCIe would be the option for you. It is really essential for heavy tasks or 3D rendering.So, check out how many PCIe slots your motherboards offer.
Make sure your motherboards have enough USB ports, like USB 3.0 or USB-C, for faster data transfer. Choose NVMe SSDs over SATA-based SSDs for fast storage interfaces and make sure your motherboard has “M.2 slots.”

Step 5: Power Distribution and Cooling
If someone wants to push their system to the limit by heavy workloads or overclocking the CPU, they should pay attention to the “power delivery system” on the motherboard. For getting steady power, we need high-quality “VRMs,” especially during overclocking. Your system may be damaged or unstable without a robust VRM under heavy load.
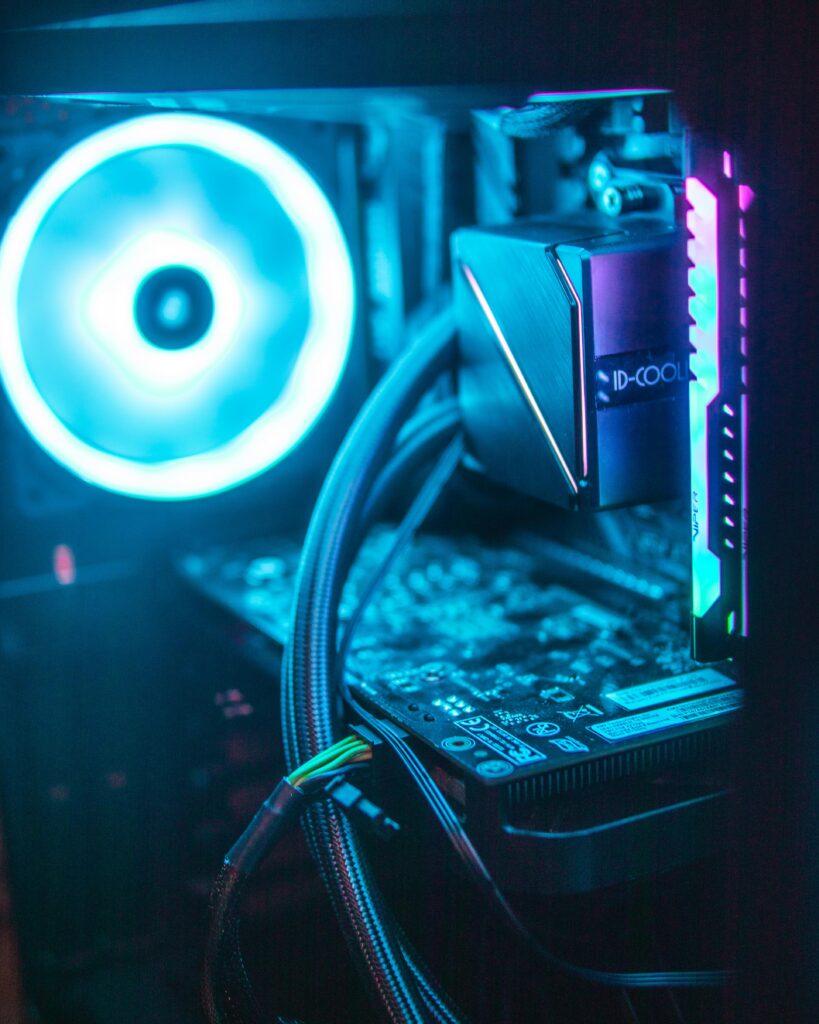
As well as cooling, it is also important for better performance. Check to see if your motherboard has enough fan headers for cooling VRMs and the chipset. Some motherboards come with heatsinks over the VRMs, and that ensures higher performance and running things very smoothly.
Step 6: Connectivity
Choose the motherboard that serves future needs. It’s worth investing in a board that offers future-proofing features.
Wi-Fi and Bluetooth:Nowadays, motherboards come with Wi-Fi 6 or Wi-Fi 6E for faster wireless speeds. As well as Bluetooth is needed if you use wireless peripherals.
PCIe 4.0 or 5.0 supports: These versions ensure faster data transfer for storage devices and GPUs, and they will future-proof your system for years.
USB 3.2 or USB-C: USB 3.2 offers faster transfer speeds while USB-C is the emerging standard for charging and devices.
Step 7: Budget
First of all, figure out your requirements, then you’ll find your perfect boards. These come with various ranges of prices. Think of motherboards as an investment. Don’t go for cheap options, and it will cause compatibility issues after.
Check out the reputable brands for motherboards. MSI, ASUS, and Gigabyte are very well known for their durability and well-supported boards. Check the reviews and research online for a better decision while buying a motherboard.
Final Conclusion
Choosing the right motherboard isn’t a hard decision.Just make sure your board is compatible with other components and has enough space for RAM and storage drives. Look for the additional features like integrated Wi-Fi, PCIe 4.0, and cooling options.
After all, the motherboard will serve you for a long time, so choose wisely. That’s all.
